Adding a Border to a Corner to Corner Blanket

Most corner to corner blankets that I’ve seen are made either really big (like my Mickey Mouse blanket), or small like a wall hanging or baby blanket. In neither case do you usually see them with a border. But I’ve discovered recently that one of my very favorite ways to make crochet afghans is by making a small or medium sized motif and then adding lots of wide borders until my blanket is a size I like – or until I run out of yarn, whichever is first! What I’ve never seen before, though, is how to add a border to such a blanket, so I thought I’d share the how-to on that today. (And the method will be handy in a few days when I post my next project/pattern.)
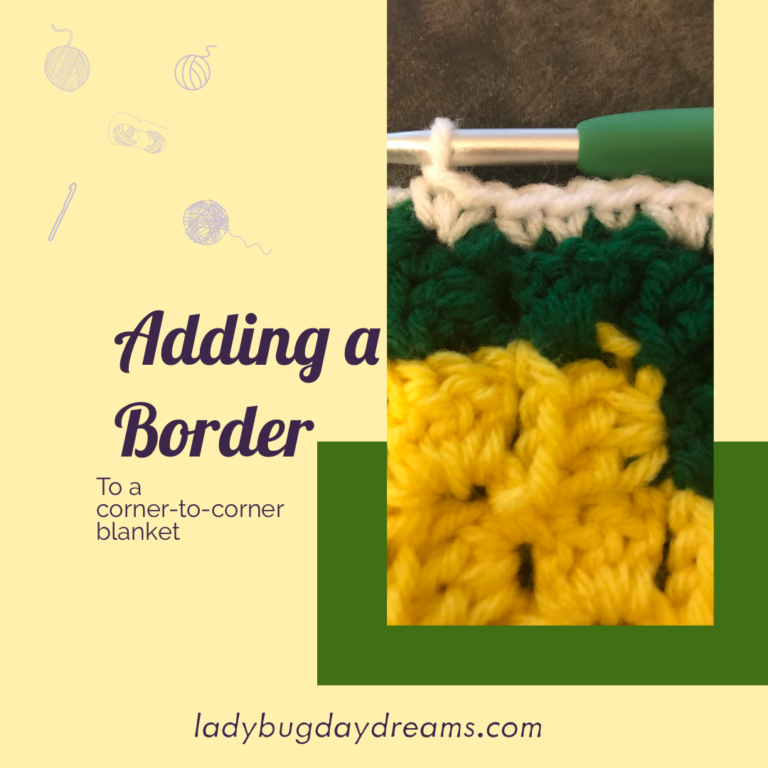
When you create a corner to corner blanket, look at it carefully. You will see that the design is made with squares – sometimes called pixels – of different colors to create a picture. These pixels, because if the nature of stitching back and forth in rows, go in opposite directions. You can see this clearly in my picture above. So the first thing to do is to examine your blanket and see which way the pixels are slanting. Some will be normal, where your double crochets are up and down, and some will be sideways, where your double crochets are stacked atop one another. Once you can see the difference, you’re ready to go!
Step 1: Make a slip knot from your border color yarn and place it on your hook. Slip stitch to one corner of the blanket (doesn’t matter which one) and chain 1. Single crochet, chain 2, single crochet. Corner made.
Step 2: Look at your blanket and determine whether your double crochets are vertical or horizontal. In the pixels where they are vertical, make a single crochet in the top of each one (you will have 3 SCs). In the horizontal ones, make 2 double crochets around the outermost stitch. So for every 2 pixels, you will be making 5 single crochets.
Step 3: Continue your sets of 3 and 2 all the way across the edge. At the next corner, SC, ch 2, SC.
Step 4: Repeat around. At the end of the last side, remember that you already made that corner so don’t make another one. Instead, join to that first SC with a slip stitch. If you want to continue your border in the same color, you can start your main border pattern now. If you want to change the color, cut your yarn and fasten off.
That’s it! I hope this was clear enough. If you have any questions, please leave me a comment below.
Blessings,

