Recipe: Taco Rice

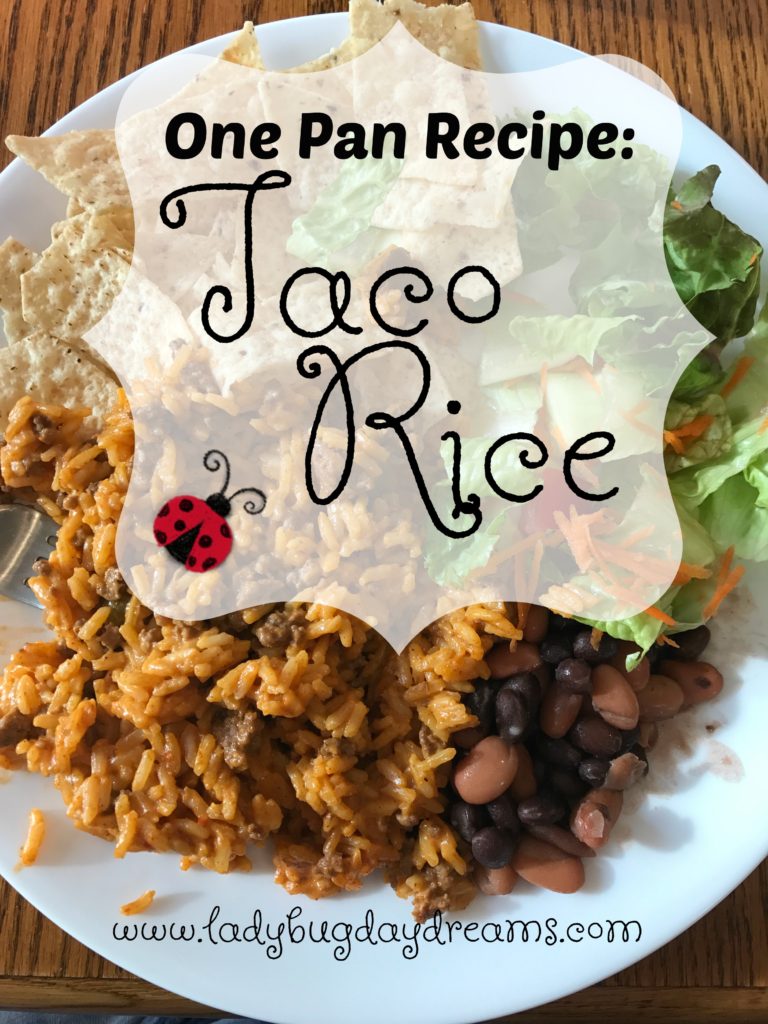
One of the things I’ve struggled with the past few weeks is meal planning for people who have severe dietary limitations – no poultry, limited dairy, allergies to several fruits and vegetables, and a distinct hatred for most others (no, none of these issues are my kids – it’s the other grownups we live with right now causing the “problems”). Most of what we’ve been eating is pork chops and salad or tacos. I was looking for something different the other day to use up some ground beef I had on hand when I remembered one of my favorite simple meals – something I made up a while ago that I call “Taco Rice.” It fit the dietary guidelines, and is really yummy. Plus, it’s a one pot meal! Today, I’m sharing the recipe here. Enjoy!

One Pan Recipe Taco Rice

Taco Rice (serves 6-8)

  • 1.5 pounds ground beef (or turkey)
  • 2 packets (or equivalent homemade) taco seasoning
  • 4 cups water (instead of the amount listed on the seasoning packets)
  • 1 jar nacho cheese
  • 2 cups uncooked long grain rice (or 4 cups instant rice)

Cook and crumble the ground beef until no pink remains; drain fat. Return to pan and add seasoning, water, and nacho cheese. Stir to dissolve the seasoning and melt the cheese. Bring to a boil. Add the rice. Reduce heat to low; cover and cook 20 minutes. If you’re using instant rice, follow the directions on the box for timing once you add the rice to the pan. Gently fluff the rice and serve.

I like to eat this either plain or scooped up with tortilla chips. It’s also good with a super simple salad, and would make a wonderful tortilla filling.

Blessings,

ladybug-signature-3 copy

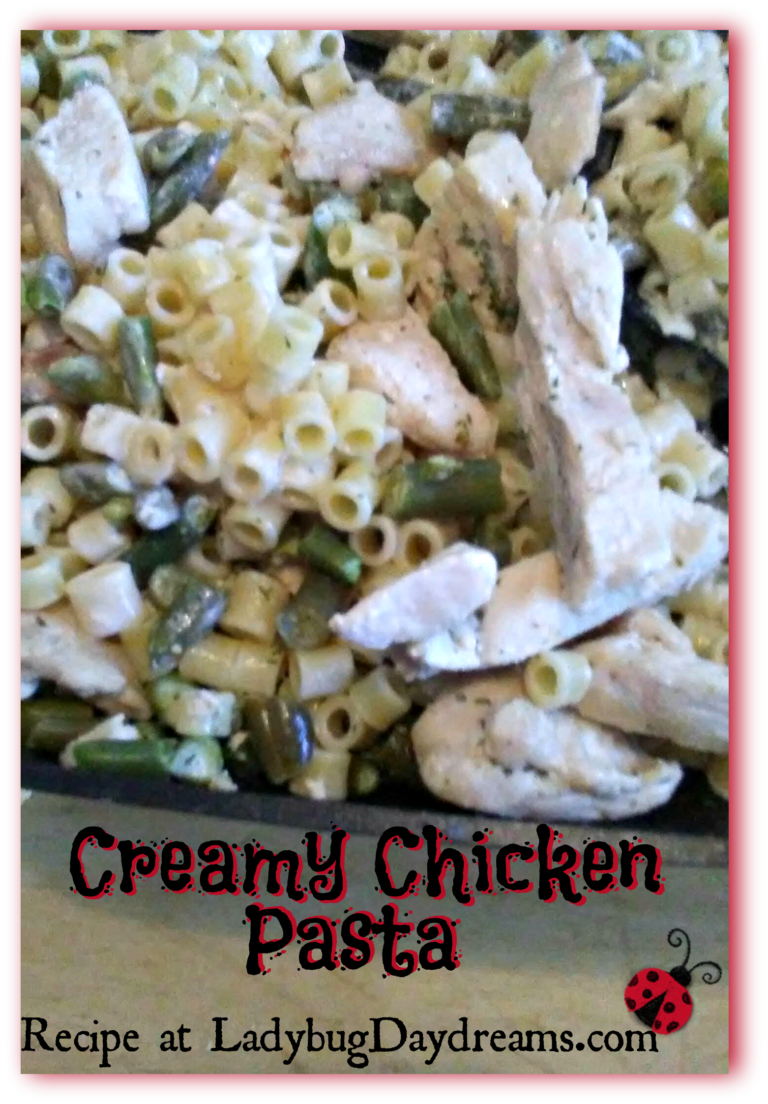
Creamy Chicken and Pasta (Recipe)

We recently got a Costco membership as a belated anniversary present to ourselves. One of our first purchases was a book entitled A Year of Recipes. The premise is that there’s a new recipe for every single day of the year (including February 29th). Some of them aren’t super helpful when it comes to mealtime because they’re desserts or require some specialty ingredients, but a fair number of them are easy to pull off with little or no notice. The recipe I want to share today is one of those.

In the middle of packing up the house for an upcoming move (this week!), I wanted to make something for dinner that would use up some of the food we have on hand. The one for the specific day I was cooking (Saturday the 25th) was this one. I was quite skeptical based on the ingredient list (it seemed too basic), but when I tasted it, I was absolutely sold on this recipe. It was so delicious, and it’s going to make its way into our regular rotation of meals.

pasta dish

I had to make a few alterations to the base recipe in order to use up stuff we already had (sherry for white wine, ditalini for penne, and green beans for peas), and the recipe I’m including today is my modified version rather than the official one from the book.

Creamy Chicken and Pasta ~ serves 6-8

  • 4-6 chicken breasts (about 1 1/2 pounds)
  • 1 pound bite size pasta
  • 3/4 cup cooking sherry
  • 1 pound frozen green beans
  • 1 cup whipping cream
  • 1 tbsp dried parsley flakes
  1. Cook pasta according to package directions.
  2. Cut chicken into strips (or cubes) and cook over moderately high heat until cooked through. Add the cooking sherry and cook over high heat until the liquid is mostly evaporated.
  3. Add the green beans and cover the pot. Cook for 5-6 minutes, until the green beans are hot and tender.
  4. Add the whipping cream, cooked pasta, and parsley. Cover and cook for 2-3 minutes to soften the parsley and thicken the sauce.
  5. Serve hot with the side dish of your choice.

We ate this meal with glazed carrots, but it would be equally delicious with “normal” pasta sides: salad, garlic bread, etc.

Blessings,

ladybug-signature-3 copy


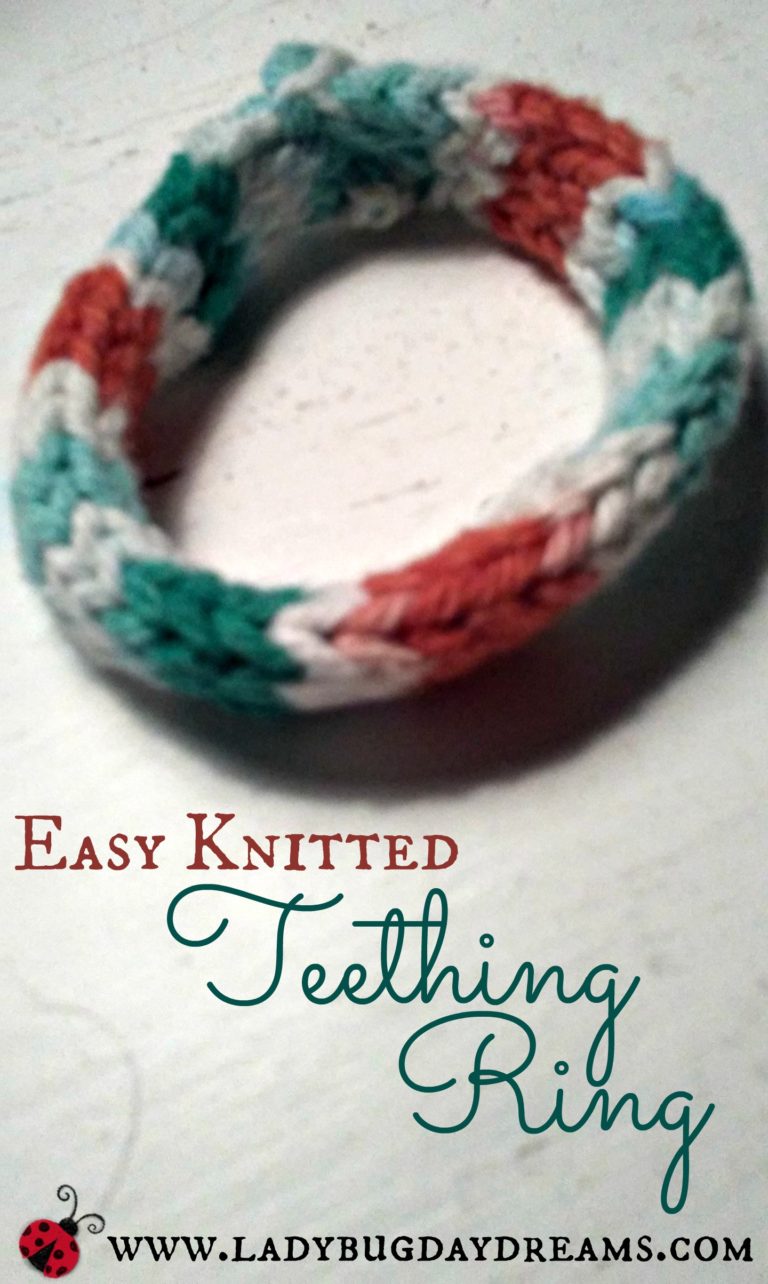
Easy Knitted Teething Ring

When you have a baby, teething is just a fact of life. There are loads of commercial teething toys you can buy in all different sizes, shapes, and colors. You can get the kind that are filled with water and kept in the fridge, or just some that are textured for babies to chew on. When Dragonfly was teething as a young baby, I was in the middle of making cotton washcloths. The skeins of cotton yarn didn’t work out to all get used up evenly for the washcloths, so I decided to use some of the extra to make teething rings. It was really easy; here’s how I did it.

Teething Ring ~ Easy Knit Pattern

Make an “I-cord” (instructions to follow) in whatever width and length you like, then sew the two ends together to make a ring shape.

In case you’re not familiar with an “I-cord,” this is a technique developed by knitting master Elizabeth Zimmermann, and it creates a wonderful cord that you can use for a plethora of things – as a belt for a cardigan, as a drawstring inside any garment that requires one, or as I’m demonstrating today, as a teething ring for baby, among many other things.

The phrase I-cord is short for Idiot Cord because Mrs. Zimmermann thought that any “idiot” who knows how to knit would be able to make one. All you need is some yarn and two double pointed needles (DPNs). The technique is very easy: cast on your desired number of stitches, slide the stitches to the other end of the DPN, knit across, slide down, knit across, and repeat the sliding and knitting until your cord is the desired length. The sliding (rather than turning the work) requires you to pull the yarn across the back of the work, and as you continue to add to your cord, this pulls it closed into the cord shape. What you end up with is a round piece of knitting that is stockinette on all sides. It’s very attractive, and very easy to work.

For my teething rings, I used 100% cotton yarn. This is what I use for washcloths, and it works really well for the teething rings for a few reasons. First, cotton yarn has very little stretch. There’s virtually none, actually. This means that the ring maintains its shape. Second, it freezes and thaws well, which is really important for a teething ring. Finally, because it’s an all-natural fiber, you don’t have to worry about your baby putting it in his mouth. And if you use organic cotton yarn, even better.

So, what you do is create an I-cord using your desired number of stitches on whichever size needles you like. I used four stitches on a size 8 needle, but there’s really no right answer here. Find a size needle you’re comfortable with (remembering that bigger needles will make bigger stitches and vice versa) and make your I-cord any thickness you like by adjusting the number of stitches you cast on. Make your I-cord at least 8-10 inches long. Longer will give you a bigger circle; shorter, a smaller one. When it’s a length you like, bind off, knot your yarn leaving a long tail, and then use that tail to sew the two ends together. Wash your new teething ring, then get it nice and wet and stick it in the freezer. If you make several of these, you’ll always be ready to offer one to your baby when his poor gums need it. They thaw quickly, but even the texture seems to help babies, so that’s okay.

Blessings,

ladybug-signature-3 copy

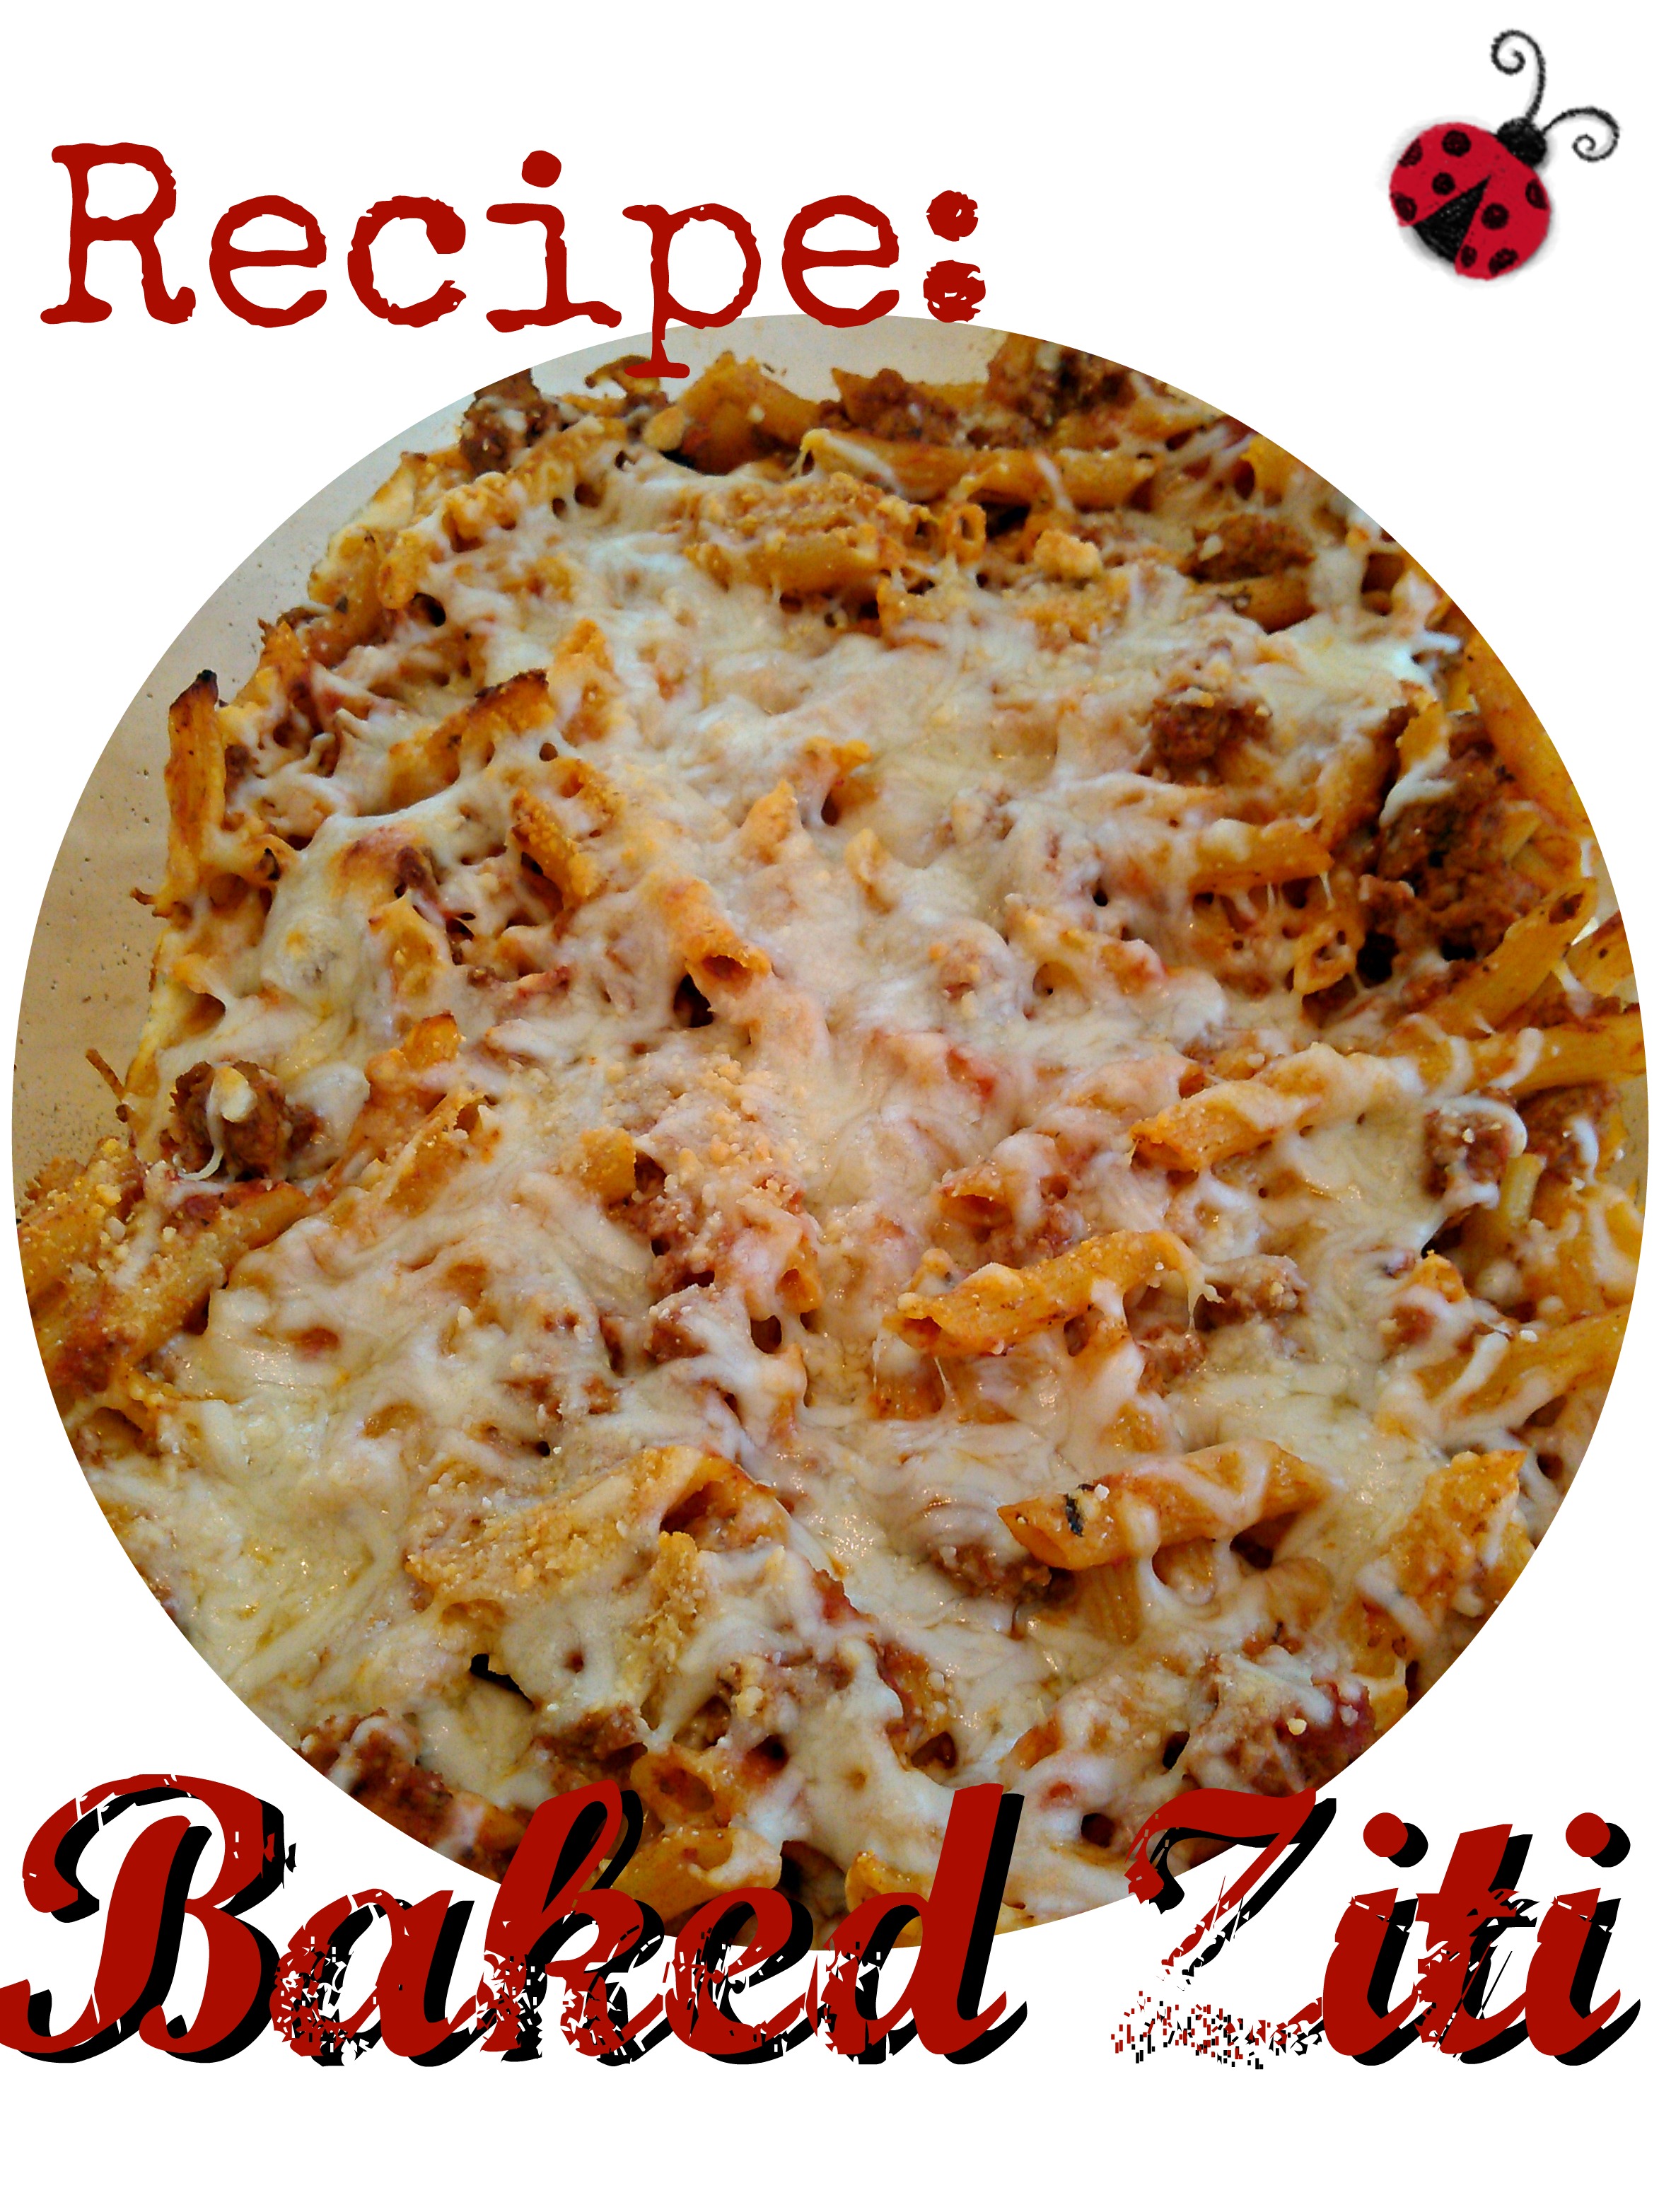
Recipe: Baked Ziti

Baked Ziti Recipe

Baked Ziti is one of those dishes that most of my family has always enjoyed – everyone but Munchkin. Since he really dislikes it when made traditionally, I rarely served it. But then I came across a recipe on AllRecipes that I thought might make him like it more. It called for Provolone instead of Ricotta; other than that, it was practically the same. So I made it one night, and it was a huge hit! We all like baked ziti this way much better than the “lasagna but with bite size noodles” way. Enjoy!

Baked Ziti

Preparation Time: 10 minutes

Cooking Time: 40 minutes

  • 1 1/2 pounds ground beef or turkey (or a wide variety of chunky vegetables – mushrooms, zucchini, carrots, etc)
  • 1 jar (28 ounces) spaghetti sauce (or equivalent homemade)
  • 1 pound bite-size pasta, any shape
  • 6 slices provolone cheese
  • 6 tbsp sour cream
  • 1 cup shredded mozzarella
  • 1/4 cup grated Parmesan
  1. Brown meat or cook vegetables until done. Add spaghetti sauce and simmer while the pasta cooks.
  2. Cook pasta according to package directions, draining it at the lowest recommended cooking time. You’ll be baking it after this, so even if you prefer softer pasta, drain it now. It will continue to cook in the oven.
  3. Add pasta to sauce and combine well.
  4. In a 13×9 baking dish coated with cooking spray, add half the pasta. Layer the provolone slices over the top, then top each one with a tablespoon of sour cream. Spread the sour cream evenly over the whole dish.
  5. Add the other half of the pasta. Top with the mozzarella and Parmesan.
  6. Bake at 350 F for 30 minutes or 425 F for 20 minutes, until the cheese is melted and the whole dish is hot and bubbly.

Blessings,

ladybug-signature-3 copy

Salmon Cakes (recipe)

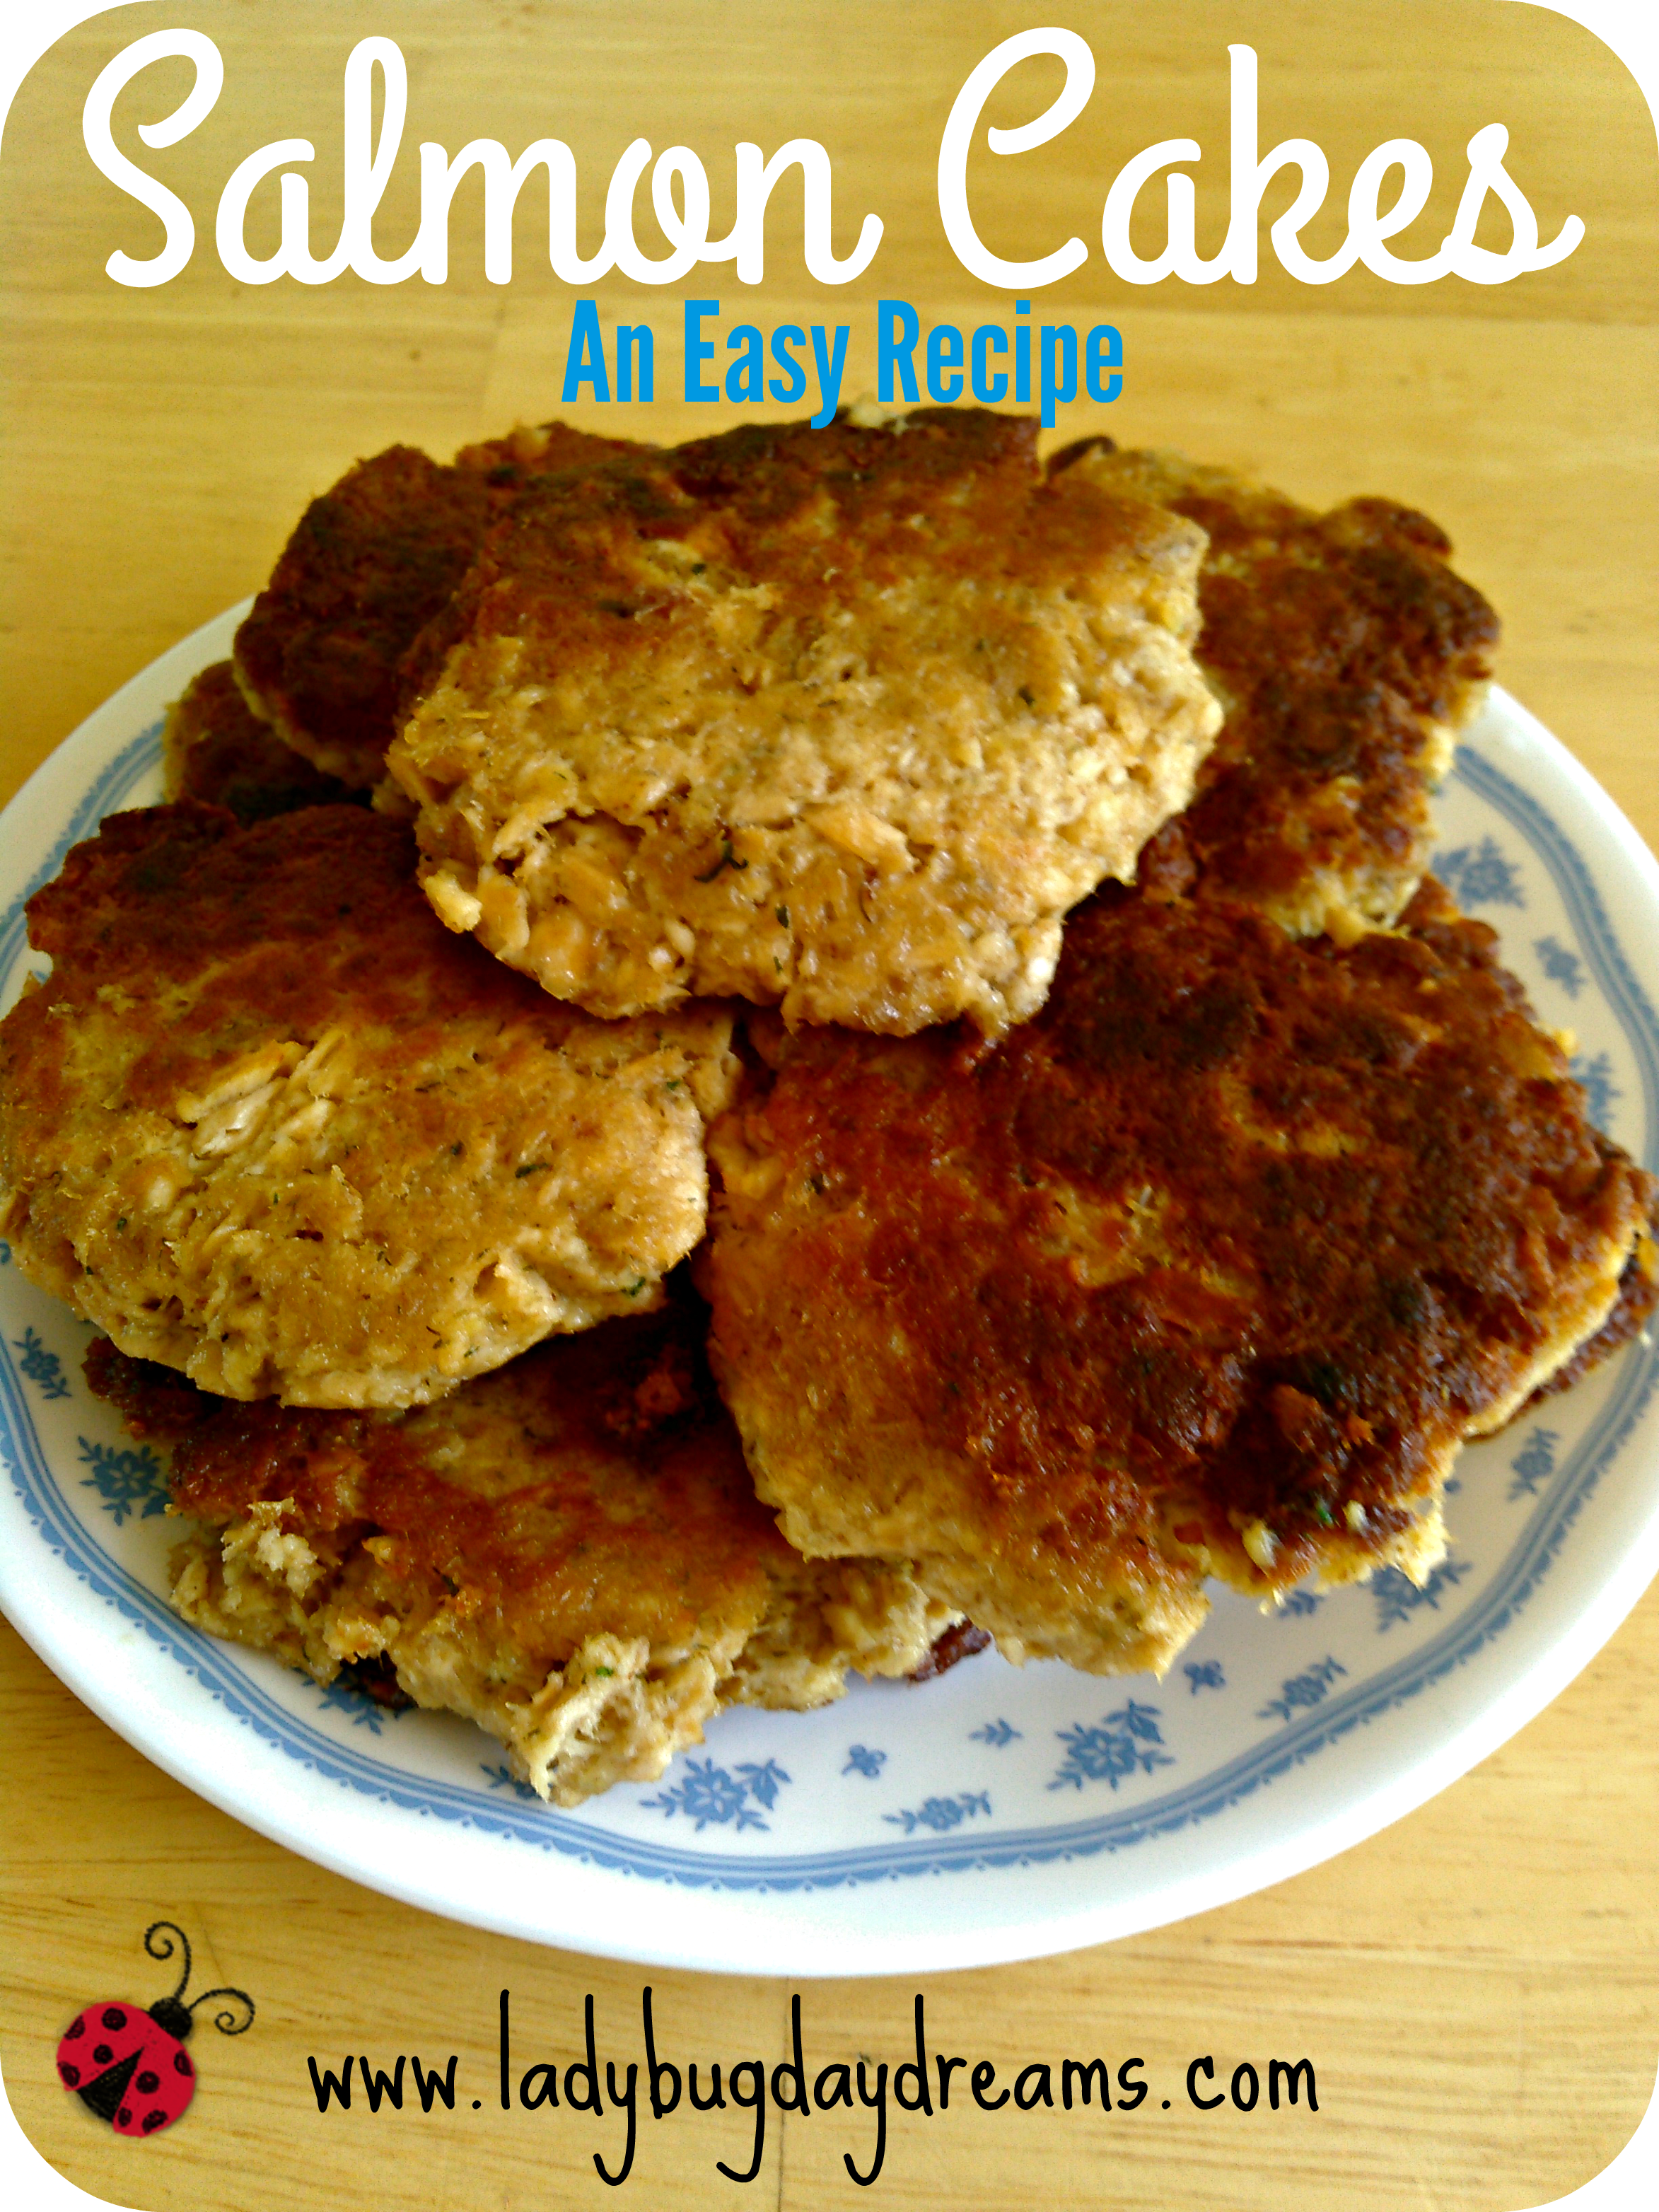
salmon cakes

There are probably as many recipes for fish cakes as there are cooks who make them. I recently came across one for salmon cakes that included Rice Krispies, but we didn’t have any on hand. I decided to try making it using bread crumbs instead, since the cereal was the only ingredient we didn’t already have. When I got it all mixed together, I could tell they were going to try to fall apart on me (which seems to happen all the time with fish cake recipes as they’re written), so I added a little bit of mayonnaise to help them hold together better. It worked like a charm! Now these delicious patties are one of our favorite easy go-to lunches; it’s not much harder than a sandwich (especially in my house where everyone likes a different kind), but it gives us a nice hot lunch that feels more like a meal than a lot of other options. I hope you like it too.

If you don’t like salmon, or just don’t have any in the house, this could be made just as easily with tuna.

Salmon Cakes

Preparation Time: 10 minutes

Cooking Time: 15 minutes

Makes 9 patties

  • 5 cans salmon (5 ounces each), drained
  • 2 large eggs
  • 1 tbsp dill weed
  • 1 tsp mustard
  • 3/4 cup bread crumbs
  • 1/4 cup reduced fat mayonnaise
  1. In a large bowl, beat the eggs.
  2. Mix in bread crumbs, dill weed, and mustard to create a slurry.
  3. Add salmon and combine well.
  4. Stir in mayo to create a paste-like mixture (think meatballs or meatloaf).
  5. Shape mixture into balls, then flatten into patties. I usually get 9 decent sized cakes from this recipe, but you could easily make smaller ones for a side dish instead of these main-dish sized ones.
  6. Saute in hot oil 5-7 minutes per side, until golden brown and heated through.

Blessings,

ladybug-signature-3 copy

Crochet Cloche Hat with Flower

crochet cloche hat with flower

At Christmastime, I got a couple of new sweaters to go with my skirts to get me through the cold weather (tank tops aren’t really appropriate when it’s below freezing outside, even with a coat on…). They matched my two skirts perfectly – one blue and one pink – and I love them. While we were moving from the sweater section to the dressing room to make sure the sweaters fit, we passed through the hat department and found the absolute perfect hat. It’s a 1920s style bucket hat with a brim and a thin band around the base. It’s pretty much an exact match to my blue outfit.

I knew pretty much right away that I wanted to get another one to match my pink outfit, too, but that’s proven more difficult to find. So what does a crafty girl do? She makes her own! And that’s exactly what I did.

crochet cloche hat with flower 2I spent a bit of time trying to find the perfect pattern, and I found a couple that were quite nice. But the problem was that I could tell about halfway through the crocheting process that they were going to end up way too small. So I ripped out all the stitches (I didn’t really want to waste my $9 yarn) and tried again. Same thing happened with the second pattern. So I decided to research what made a “1920s flapper hat.” Turns out, it’s called a Cloche Hat, and it’s basically just a beanie with a brim. That’s easy enough to do, so I gave up on the specific patterns (except for this one, which I used for the beanie portion of my hat, sans embellishments) and just added a brim to the beanie. Then I found a pattern for a lovely flower (I think they’re calling it a dahlia; I’m not that huge into flowers, so I’m not sure how much this actually looks like a dahlia…) and added it to the side of my hat.purple cloche hat

I liked the way it turned out so well that I headed straight back to the yarn store and purchased two more skeins of the same yarn (100% Peruvian wool) in different colors and have since made a second hat, this time with a rose on it. I think I’m going to gift it to my mother-in-law (step-mother-in-law, if we’re being technical). I really love this pattern that I hodge-podged together from others. It turned out exactly the way I’d hoped. I definitely plan to make these for gifts for people as we need them.

Blessings,

 ladybug-signature-3 copy


This post is part of the Schoolhouse Review Crew’s roundup on crafts. That post will go live on Friday, March 4th, 2016.

Crafts / Handiwork Ideas and Tutorials

Pecan Cookie Balls (Recipe)

Pecan Cookie Balls recipeOne of my very favorite cookies is a recipe I inherited from my grandmother. I don’t make it often – about once every other year or so – but that doesn’t negate its place at the top of my ideal cookies list.

There are a couple of things that make this cookie special (excluding the fact that the recipe is from my late grandma). First, there’s very little sugar in them – only a quarter cup. Second, they don’t spread and flatten like traditional cookies. Instead, they retain their ball shape, which makes them fun to eat. Last but not least, they are absolutely the most delicious sweet ever! I hope you’ll try them. Maybe they’ll become a holiday staple at your house.

Blessings,

ladybug-signature-3 copy


 I’m sharing this recipe at Try a New Recipe Tuesday.

Pecan Cookie Balls
Serves 60
Write a review
Print
75 calories
6 g
8 g
5 g
1 g
2 g
14 g
20 g
3 g
0 g
3 g
Nutrition Facts
Serving Size
14g
Servings
60
Amount Per Serving
Calories 75
Calories from Fat 47
% Daily Value *
Total Fat 5g
8%
Saturated Fat 2g
11%
Trans Fat 0g
Polyunsaturated Fat 1g
Monounsaturated Fat 2g
Cholesterol 8mg
3%
Sodium 20mg
1%
Total Carbohydrates 6g
2%
Dietary Fiber 0g
2%
Sugars 3g
Protein 1g
Vitamin A
2%
Vitamin C
0%
Calcium
0%
Iron
1%
* Percent Daily Values are based on a 2,000 calorie diet. Your Daily Values may be higher or lower depending on your calorie needs.
Ingredients
  1. 1 cup butter
  2. 1/4 cup brown sugar
  3. 2 cups all purpose flour
  4. 1/2 teaspoon salt
  5. 1 tablespoon water
  6. 1 teaspoon vanilla
  7. 2 cups finely chopped pecans
  8. 1/2 to 1 cup powdered sugar
Instructions
  1. Cream butter. Add sugar gradually and blend well.
  2. Add flour, salt, water, and vanilla. Mix.
  3. Add pecans and combine thoroughly.
  4. Shape into small balls - about 1 inch in diameter.
  5. Place on a cookie sheet (greased or ungreased - it doesn't matter). They can be placed quite close together since they won't spread and flatten. This allows you to get quite a few onto each cookie sheet.
  6. Bake at 350F for 18-20 minutes.
  7. While the cookies are still warm, roll them in powdered sugar.
beta
calories
75
fat
5g
protein
1g
carbs
6g
more
Ladybug Daydreams http://www.ladybugdaydreams.com/

Recipe: Creamy Chicken Noodle Soup

Creamy Chicken Noodle Soup Recipe

As the weather cools down here in the northern hemisphere, we start craving warmer foods. It was absolutely pouring down rain earlier this week, and staying home and out of it wasn’t an option (too many appointments). So I decided that while I was out anyway, I was going to make a trip to the store to pick up some ingredients to make a soup for lunch. The result was this, and I must say, it was easily the most delicious chicken noodle soup I’ve ever tasted, and definitely the best soup I’ve ever made. Enjoy!

Creamy Chicken Noodle Soup
Serves 8
Write a review
Print
454 calories
34 g
168 g
25 g
25 g
13 g
471 g
665 g
2 g
0 g
10 g
Nutrition Facts
Serving Size
471g
Servings
8
Amount Per Serving
Calories 454
Calories from Fat 220
% Daily Value *
Total Fat 25g
38%
Saturated Fat 13g
66%
Trans Fat 0g
Polyunsaturated Fat 2g
Monounsaturated Fat 8g
Cholesterol 168mg
56%
Sodium 665mg
28%
Total Carbohydrates 34g
11%
Dietary Fiber 4g
16%
Sugars 2g
Protein 25g
Vitamin A
85%
Vitamin C
16%
Calcium
10%
Iron
14%
* Percent Daily Values are based on a 2,000 calorie diet. Your Daily Values may be higher or lower depending on your calorie needs.
Ingredients
  1. 1 yellow onion, diced
  2. 4 boneless, skinless chicken thighs (or you can substitute 2 breasts)
  3. 2 bags frozen vegetables, whatever kind you like (12 ounces each)
  4. 8 cups chicken broth
  5. 1/2 pound egg noodles
  6. 1 pint cream
  7. 2 pinches dried basil
  8. 2 pinches dried oregano
  9. 3 pinches dried thyme
Instructions
  1. In a splash of oil, saute the onion until it softens, about 5 minutes.
  2. Add the chicken and brown. Don't worry about cooking it through just yet; it will finish cooking in the broth.
  3. Add the vegetables and heat through. (I used one bag of peas and carrots, and another of corn.)
  4. Pour in the broth and bring to a boil. Add the herbs. Reduce heat slightly and simmer for 10-12 minutes, until the chicken is cooked through and the vegetables are soft.
  5. Add the egg noodles and cook for another 7 minutes (or according to package directions).
  6. Stir in the cream and heat through.
  7. Serve with your favorite sandwiches, bread, or crackers.
beta
calories
454
fat
25g
protein
25g
carbs
34g
more
Ladybug Daydreams http://www.ladybugdaydreams.com/

This recipe has been linked up at Try a New Recipe Tuesday.

Update: I was the featured recipe for the week I linked up! Special thanks to Lisa for hosting.

 photo 9c2d3d39-9e5d-4351-b060-d6251ee13eaa_zpseda17cd5.jpg

A Baby Story: The Birth of Dragonfly

If you’d asked me a month ago whether or not I thought I’d have an interesting story to tell surrounding the birth of our fourth son, I would have said, “No.” Due to several reasons that I’ve discussed on the blog before, I had a scheduled repeat c-section. I figured it would be just like Small Fry’s birth: show up at the appointed time, get an IV, have a baby via surgery, go home four days later. Easy-peasy.

But sometimes babies have their own agendas.

KIMG0099

Yes, the birth was scheduled, both the date and time. And yes, he did arrive on the date scheduled. But the time? Nope. He had his own ideas for that.

I went to bed the night before feeling normal. Like labor wasn’t even going to be an issue. After all, I’d only ever gone into spontaneous labor once, and that was over 12 years ago with Seahawk. I wasn’t even sure I’d know what it felt like anymore if I did go into labor. But God knew that, so He made sure there was no mistaking it when it happened.

Wait, what? You went into labor with a scheduled c-section?

Yes. I woke up at 6:55, about 35 minutes before the alarm was scheduled to ring, with what felt like a tiny little drip flowing over me. I didn’t think too much of it and tried to go back to sleep. But I just couldn’t shake the feeling that that drip was significant. I couldn’t ignore it. So I got up to use the restroom, hoping not to see any blood when I was in there. Fortunately, there wasn’t any. There was, however, a big gush – just like in the movies – as soon as I stepped foot in the bathroom. Yes, my water had broken. There was no mistaking it, despite the fact that this had never happened to me before. How that gush “waited” until I was in the bathroom instead of the bedroom, I don’t know. But I’m glad it did. I’m even more glad that it didn’t gush in the bed.

Now that I knew that my water had broken, I immediately woke Will up, despite the fact that he would’ve been up within 30 minutes anyway. We (well, he) woke the kids up with a sense of urgency, and within half an hour, we’d gotten everyone ready (including packing the overnight bags) and were en route to my mom’s house since the boys were going to spend some time with her while I was in the hospital and Will was going back and forth between staying with me and doing book signings. (Seahawk is technically old enough to babysit, but we don’t like leaving him for more than an hour or two until we can get him into a safe babysitting course.) Once we dropped the boys off, we headed straight for the hospital. We arrived there less than an hour after my water had broken, and a full hour before our scheduled check-in time.

Once I was admitted, they paged my doctor and she came to check on me. She did a vaginal check for dilation, and confirmed that my water had indeed broken. I was at 2 centimeters, but contractions were coming fast and hard, so they called my surgeon to see if she wanted to move the surgery up. Upon hearing that I was in labor, she did want to get baby out as soon as possible. Because none of us knew what my internal scar tissue looked like, we didn’t really want me to labor too much to avoid the risk of uterine abruption. There was a chance that my scar tissue had healed beautifully and wouldn’t cause too much trouble. There was just as good a chance that the tissue would be stretched thin from pregnancy and on the verge of splitting on its own without even taking labor into account. So within about an hour and half of arriving at the hospital, I was in the operating room. The only reason it took even that long was because the rest of the staff forgot to notify anesthesia, who was expecting me at noon, not 9 a.m., so we had to wait for them to arrive. The anesthesia doctors arrived at around 9:35, and by 9:45 we’d begun.

Just like the last time I had a preplanned c-section, the anesthesia was the worst part. I always end up freaking out (internally only) while getting the spinal. The numbing shot just before the spinal hurts like a freak attack, but then it’s all smooth sailing from there. This time around, the doctor pushing all over my back to find the right spot was quite painful, too. Once the spinal was in, it worked very quickly. Within just a minute or two, I needed help getting my legs up onto the operating table so the real fun could begin. Once the spinal was in, they brought Will into the OR. It seemed to me that it took a long time for him to get there; part of me was worried that he wouldn’t make it. But he did, thankfully. The doctors and nurses got me all settled on the operating table, and then pulled up the blue curtain. Dr. S (my surgeon) did the anesthesia test to make sure I was fully numb, and then she got started right away. I couldn’t see the clock from my vantage point, but I think the first incision was probably made right around 10 a.m. Things were going very well. My anesthesiologist was excellent at staying by my side and keeping me informed as to what was going on and being a calming presence. Will was on my other side doing the same.

KIMG0092Dragonfly made his appearance at 10:19 a.m., an hour and 41 minutes before the surgery was originally scheduled to start. He cried immediately, which always makes me cry (happy tears) too. After some of the crazy dreams I’d had while pregnant with him, hearing his first cry was the best sound in the world to me. My doctors pulled the blue curtain down enough to show me his little face, but not enough for me to see my open guts. He looked so small to me! After I got a good glimpse at him, they pulled the curtain back up and invited Will over to the other end of the table to cut the cord. I was glad they offered him this opportunity. When Small Fry was born, he wasn’t give that chance (nor with Munchkin, but that was an emergency situation and therefore understandable), and I remember him mentioning his disappointment later. Once the baby was cleaned up a bit and swaddled, Will was able to bring him over for me to see better. The two of them stayed there for the remainder of the surgery. I couldn’t hold baby during that time – they didn’t offer me the chance, but I probably would have declined anyway because I didn’t feel in that moment that I could have done so safely – but it was nice to be able to touch his face while Will was holding him.

Closing me back up took about half an hour; by 11 a.m., I was back in my room for recovery and bonding. Baby nursed right away; he’s definitely a natural at it. I was in the hospital until around 11 a.m. on Monday, and definitely ready to go home by then. It feels good to be getting back into the swing of things – even if I have to move a little slow still.

Blessings,

ladybug-signature-3 copy

Easy Homemade Chicken Taquitos (Recipe)

Easy Homemade Chicken Taquitos Recipe

Have you ever had taquitos? I only have a few times, but the other day, I got one of those pregnancy cravings for them. Don’t ask where it came from since they’re not something I eat often enough to really “know” about, but there it was. So I looked up the basic method on my favorite recipe website (allrecipes.com) and modified it to fit our tastes, budget, and what we had on hand. Enjoy!

Blessings,

ladybug-signature-3 copy


Easy Chicken Taquitos
Yields 30
Write a review
Print
Prep Time
45 min
Cook Time
15 min
Total Time
1 hr
Prep Time
45 min
Cook Time
15 min
Total Time
1 hr
100 calories
13 g
17 g
2 g
7 g
1 g
54 g
79 g
0 g
0 g
2 g
Nutrition Facts
Serving Size
54g
Yields
30
Amount Per Serving
Calories 100
Calories from Fat 21
% Daily Value *
Total Fat 2g
4%
Saturated Fat 1g
3%
Trans Fat 0g
Polyunsaturated Fat 1g
Monounsaturated Fat 1g
Cholesterol 17mg
6%
Sodium 79mg
3%
Total Carbohydrates 13g
4%
Dietary Fiber 1g
6%
Sugars 0g
Protein 7g
Vitamin A
1%
Vitamin C
0%
Calcium
6%
Iron
3%
* Percent Daily Values are based on a 2,000 calorie diet. Your Daily Values may be higher or lower depending on your calorie needs.
Ingredients
  1. 30 corn tortillas
  2. 6 boneless, skinless chicken breasts
  3. 1 cup salsa (your favorite)
  4. 1/2 cup shredded cheddar cheese, optional
  5. oil, for brushing
For the filling
  1. Poach the chicken breasts in broth or water for 10-15 minutes, until cooked through. (Poaching is recipe talk for boiling.)
  2. Shred the chicken using two forks.
  3. Add the salsa and toss to coat, using the same forks that you shredded the chicken with.
To build the taquitos
  1. Coat a large baking sheet (mine is 11x17) with oil.
  2. Warm your tortillas. This makes them easier to roll and less likely to crack and break. You can do this by wrapping them in damp towels and microwaving, placing them in a hot oven for 10-15 minutes, or warming them in a dry skillet for 30-60 seconds per side.
  3. Place a small amount of the chicken mixture on the edge of a tortilla.
  4. Top with a slight sprinkling of cheese, if using.
  5. Roll the tortilla up tight.
  6. Place seam side down on the prepared baking sheet.
  7. Repeat with remaining tortillas.
  8. Brush each taquito with oil. This helps them get nice and crispy in the oven without drying out.
  9. Bake at 475F for 15 minutes.
  10. Let cool 5 minutes before serving.
Notes
  1. When the taquitos are rolled properly, they should look like super-skinny enchiladas without sauce.
Serving ideas
  1. Add additional salsa, some sour cream, and/or guacamole to each plate for dipping.
  2. Serve taquitos just like you would enchiladas or other Mexican fare, with Spanish (or Mexican) rice and refried beans.
beta
calories
100
fat
2g
protein
7g
carbs
13g
more
Ladybug Daydreams http://www.ladybugdaydreams.com/