I mentioned back in the summertime that I’d made a quiet book for Small Fry’s second birthday. It wasn’t that awesome, but it was okay for my first time out. Well, for our nephew’s second birthday in September, I poked around online (as well as exploring my fabric and notions stash) and found some ideas for quiet book pages for him. Would you believe that there are whole blogs dedicated just to making quiet books? I was shocked. And amazed at the incredible talent of some of those ladies.
So, while my second book still wasn’t quite as awesome as some of the others you’ll find online, it was much better than my first, and I’m very pleased with the way it turned out. Here are the pages I made.
 This is the cover. I just wrote his name on it with a Sharpie (I was too short on time to embroider anywhere in the book, so all those kinds of details were done with Sharpie), along with the words “Quiet book.” For the O’s I used some buttons I had in one of my notions drawers.
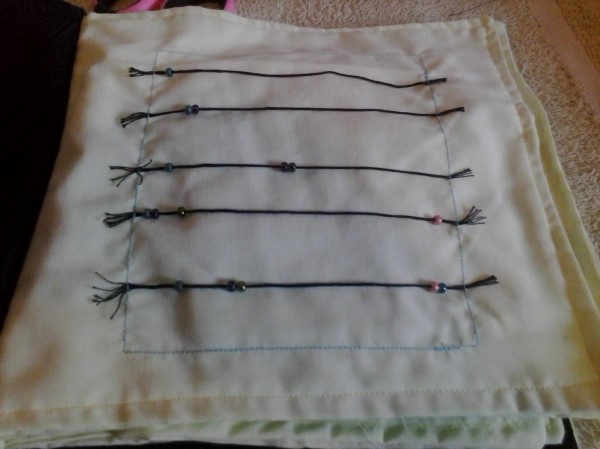
This page has strings and beads. Each string has a different number of beads on it, from 1 at the top to 5 at the bottom. I stitched the strings on one side, then laced the beads on, then continued stitching the rest of the way around to form a nice square (and hold down the other ends of the strings). The one thing I would do differently on a page like this in the future would be to use yarn instead of string and larger beads. The embroidery thread and tiny beads were all I had available at the time, though.
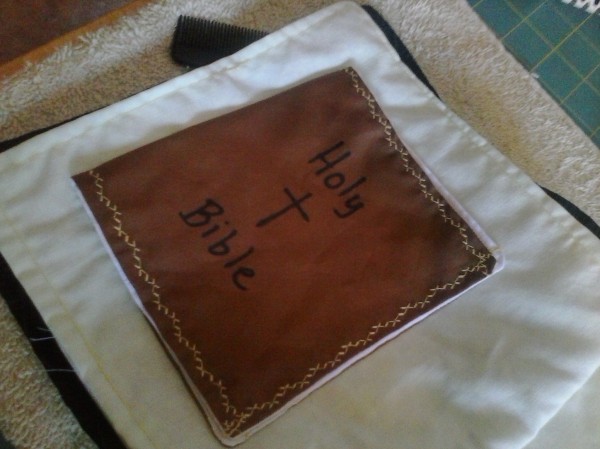
The Bible is very important to our family (and my brother’s – this nephew is my brother’s son), so it was wholly appropriate to include this page in the book. I didn’t get a picture of the inside of the Bible, but it’s just a handwritten list of the Fruits of the Spirit as listed in Galatians 5. Like the cover, this was all done in Sharpie because of the time constraint.
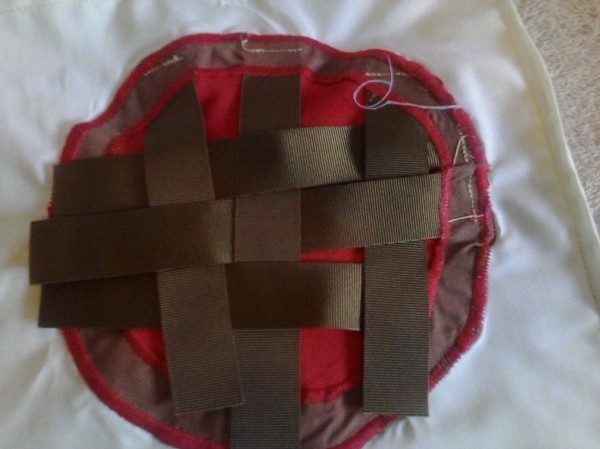
This “pie” is to practice weaving. This was probably the most difficult element to create. I used red fabric for the “filling” and brown for the “crust.” The lattice crust was made using some ribbon I have. I sewed the ribbon between the layers of fabric and then used a satin stitch (tight zigzag) to attach it to the page. Each piece of lattice is attached only on one side so that they can be loosened and tightened.
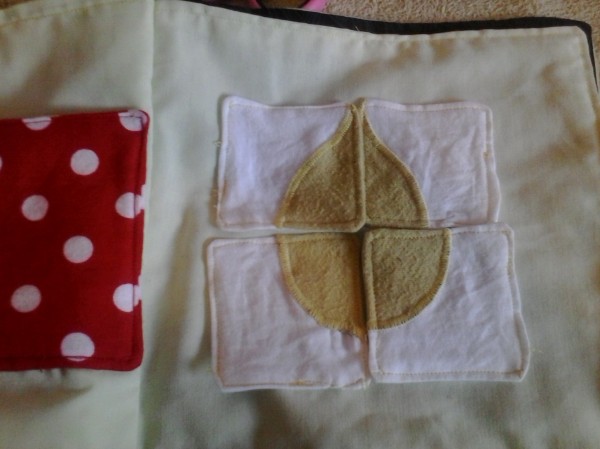
This pair of pages is a puzzle. My intention was to make it a pear, but it ended up looking more like a leaf. That’s okay. There are Velcro squares on the backs of the puzzle pieces, and the corresponding pieces on the page. On the opposite side of the page is a pocket to store the puzzle pieces in.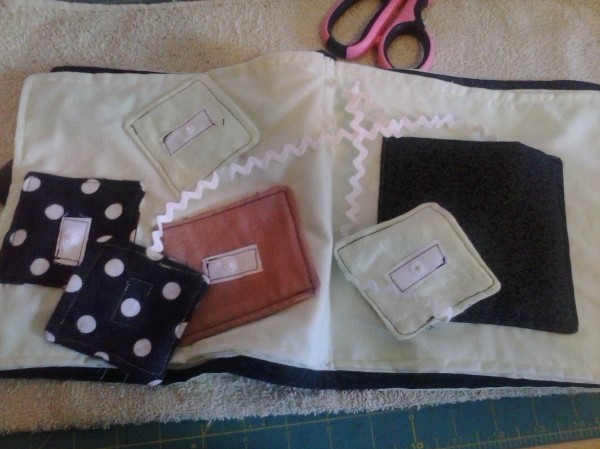
This page is very much like the previous one except the puzzle pieces don’t make a picture and they’re placed on using snaps instead of Velcro. It’s really more of a matching exercise than a puzzle. You can see that there are two of each type of fabric (polka dots, brown, and green). One is attached to the left page. The other is attached to a piece of rick rack which is sewn into the pocket on the right side. The rick rack is long enough that each piece can be matched to its mate on the opposite page.
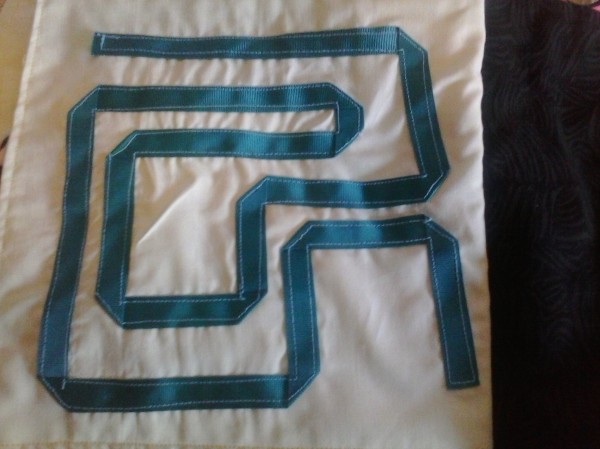
This is the final page. It’s designed as a handwriting preparation exercise. I made a random path using some more of the ribbon from the pie, just in a different color this time. I sewed it to the page, all the way around both sides. The idea is that my nephew can use his finger to trace the lines, which will help him develop the fine motor skills needed to learn to write in a year or so.
Have you ever made (or bought) a quiet book for a child? What’s your favorite kind of element to incorporate?
Blessings,
Wendy
P.S. I just want to give you guys a heads up that there’ll be a lot of changes coming to the blog over the next few weeks. A LOT. I’ll keep you posted as things start moving, but I wanted to mention it here too.

Super cute!! I’m sure the nephew is going to enjoy that wonderfully, thoughtful book!
Making a Quiet Book for a Girl – Homemaking Organized
[…] of Ladybug DayDreams shares her Quiet Book that she made for her […]
Very cute! I linked you up on my Quiet Book page. It’s been a few years since I sewed my daughter one but I still love the concept.
Hi Kemi! Thanks a bunch for stopping by and commenting, and for the shoutout on your post :-). I love the idea of putting a tic-tac-toe board in a quiet book! I’ll have to remember to incorporate that next time.
Making a Quiet Book for a Little Girl {Link to Patterns} - Homemaking Organized
[…] of Ladybug DayDreams shares her Quiet Book that she made for her […]